
How to Prepare Photos for Printing: A Simple Guide
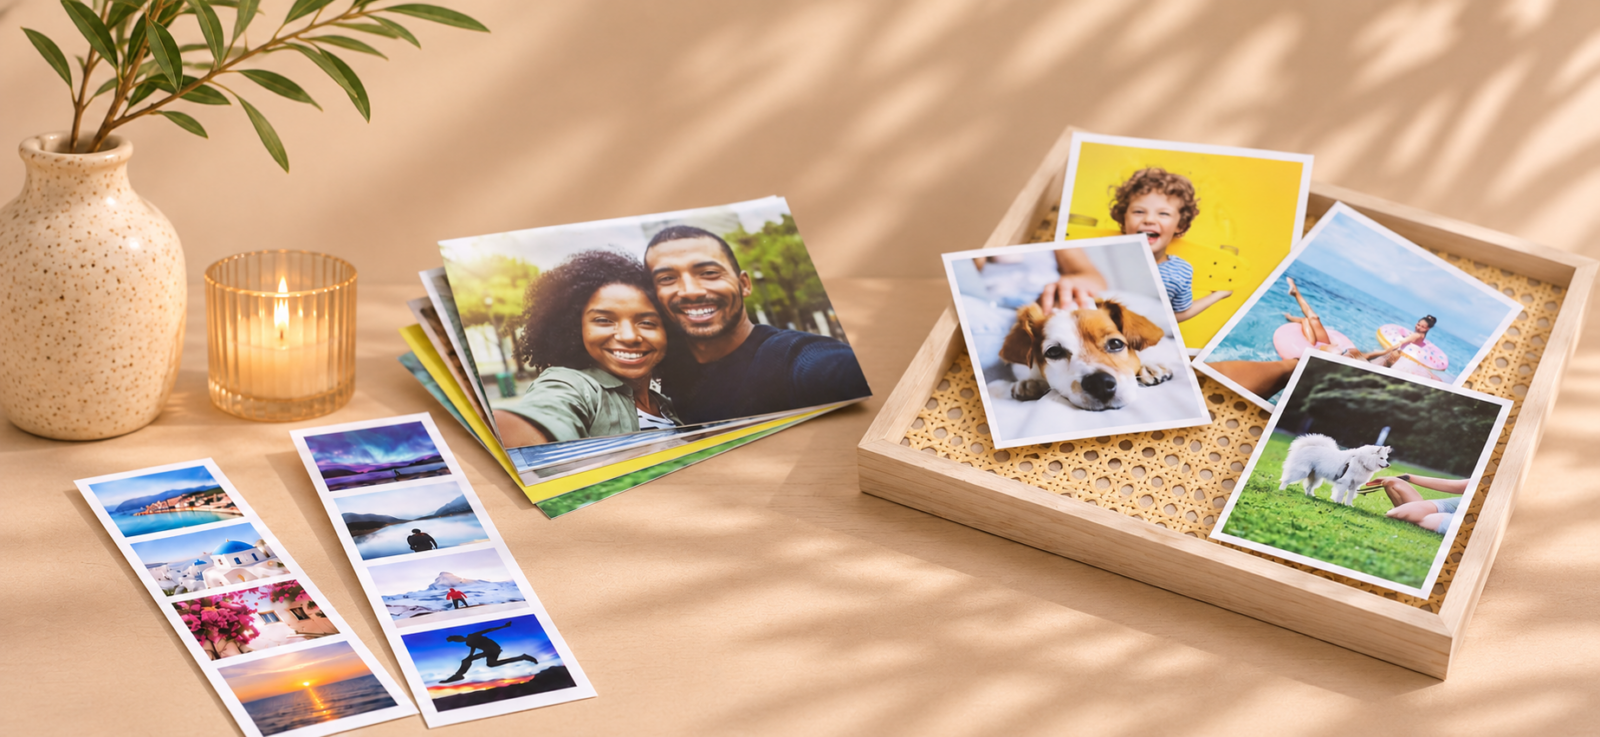
Want your favourite photos to look just as lovely on paper as they do on your screen? From checking image quality to getting the crop just right, here’s everything you need to know before pressing print.
We’ve all got those photos we absolutely love. A brilliant holiday snap, a family moment, or that one picture of the dog where they’re actually looking at the camera.
But before turning those memories into something you can hold, it’s worth knowing how to prepare photos for printing.
The good news? You don’t need fancy equipment or professional photography skills. A few simple checks can make all the difference between a beautiful, crisp print and one that looks a little fuzzy around the edges.
Here’s how to get your photos print-ready, without the technical headache.
1. Check Your Photo Resolution Before Printing
One of the most important steps in preparing photos for printing is checking their resolution.
Photo resolution simply means how much detail an image contains. The more pixels your photo has, the more detail it can retain when printed.
What resolution do photos need for printing?
For sharp, detailed photo printing, 300 DPI (dots per inch) is a useful target.
Here’s a handy guide to recommended image dimensions:
| Print size | Recommended resolution |
|---|---|
| 4 × 6 inches | 1200 × 1800 pixels |
| 5 × 5 inches | 1500 × 1500 pixels |
| 6 × 9 inches | 1800 × 2700 pixels |
| 8 × 10 inches | 2400 × 3000 pixels |
| A4 | Approximately 2480 × 3508 pixels |
Don’t worry if your photo falls slightly below these numbers. Many images still look lovely when printed at lower resolutions, particularly at smaller sizes.
The important thing is to avoid stretching a tiny image into a much larger print.
How to check if a photo will print clearly
On most smartphones, you can find image dimensions by opening your photo and viewing its information or details.
On a computer, right-click the image and look for its properties or information.
Check the pixel dimensions against your intended print size. If you’re unsure, choosing a smaller print is often the safer option.
2. Can You Print Photos from Your Phone or WhatsApp?
Absolutely! Modern smartphones take fantastic photographs, and many are more than capable of producing beautiful prints.
In fact, some of your best memories are probably sitting in your camera roll right now.
The trick is to use the highest-quality version of the photo available.
Tips for printing phone photos
- Use the original image: Choose the photo saved directly from your camera whenever possible.
- Avoid screenshots: Screenshots often contain less detail than the original photograph.
- Be careful with WhatsApp images: Photos shared through messaging apps may be compressed, reducing their quality.
- Check your camera settings: Make sure you’re capturing images at a good resolution.
- Avoid excessive digital zoom: This can make photos appear grainy or blurry.
If someone has sent you a lovely family photo through WhatsApp, ask them to share the original file at full quality if possible.
A little extra effort now can make a big difference to the finished print.
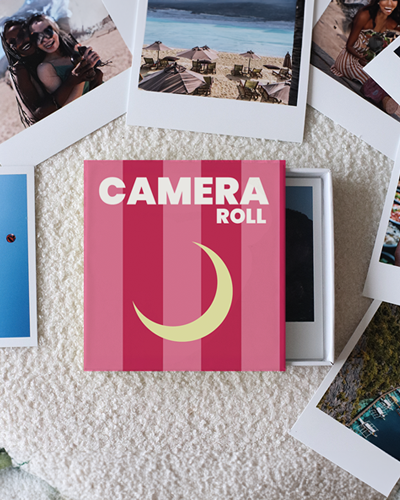
And if you’re ready to bring those camera roll favourites to life, Photobubble’s Photo Prints Collection is a lovely place to start.
LINK: Photo Prints Collection
3. Why Does My Photo Look Blurry When I Enlarge It?
A photo can look perfectly sharp on your phone but become blurry when printed at a larger size.
That’s because your phone screen displays the image relatively small. When you enlarge it, any lack of detail becomes much more noticeable.
Common causes of blurry prints include:
- Low image resolution
- Camera movement when taking the photo
- Poor lighting
- Heavy cropping
- Digital zoom
- Images compressed through social media or messaging apps
Can you fix a blurry photo before printing?
Sometimes, but there’s a limit.
Basic editing tools can improve brightness, contrast and sharpness. However, they can’t reliably restore detail that was never captured in the original image.
If a photo is noticeably blurry, try finding a sharper version or choosing a smaller print.
And remember, a slightly imperfect photo of a brilliant memory is still worth keeping!
4. How to Stop Photos Being Cropped When Printing
Ever ordered a photo print only to discover someone’s head has disappeared off the edge?
Not ideal.
This usually happens because the shape of your original photograph doesn’t match the shape of your chosen print.
For example, a square photo and a traditional 6 × 4-inch print have different proportions.
When an image is fitted to a different shape, part of it may need to be cropped.
How to avoid unwanted photo cropping
Before ordering:
- Choose a print size that suits your original image.
- Check the cropping area in the design preview.
- Keep important details away from the edges.
- Adjust the image position where the editor allows.
- Consider a print format with borders if you’d prefer more breathing room.
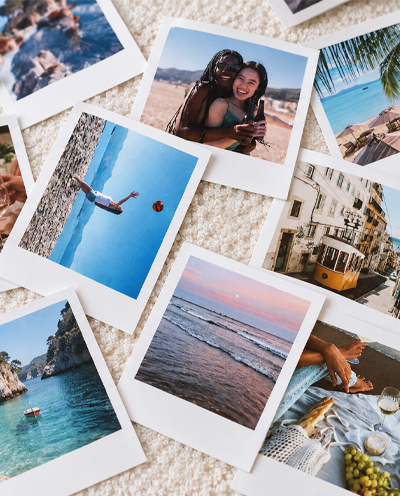
Photobubble offers options including Square Photo Prints with White Border and 6×4″ (152x102mm) Borderless Photo Prints, so you can choose a style that suits your favourite images.
5. What Is the Difference Between Bleed, Trim and Safe Area?
These printing terms might sound technical, but they’re actually quite simple.
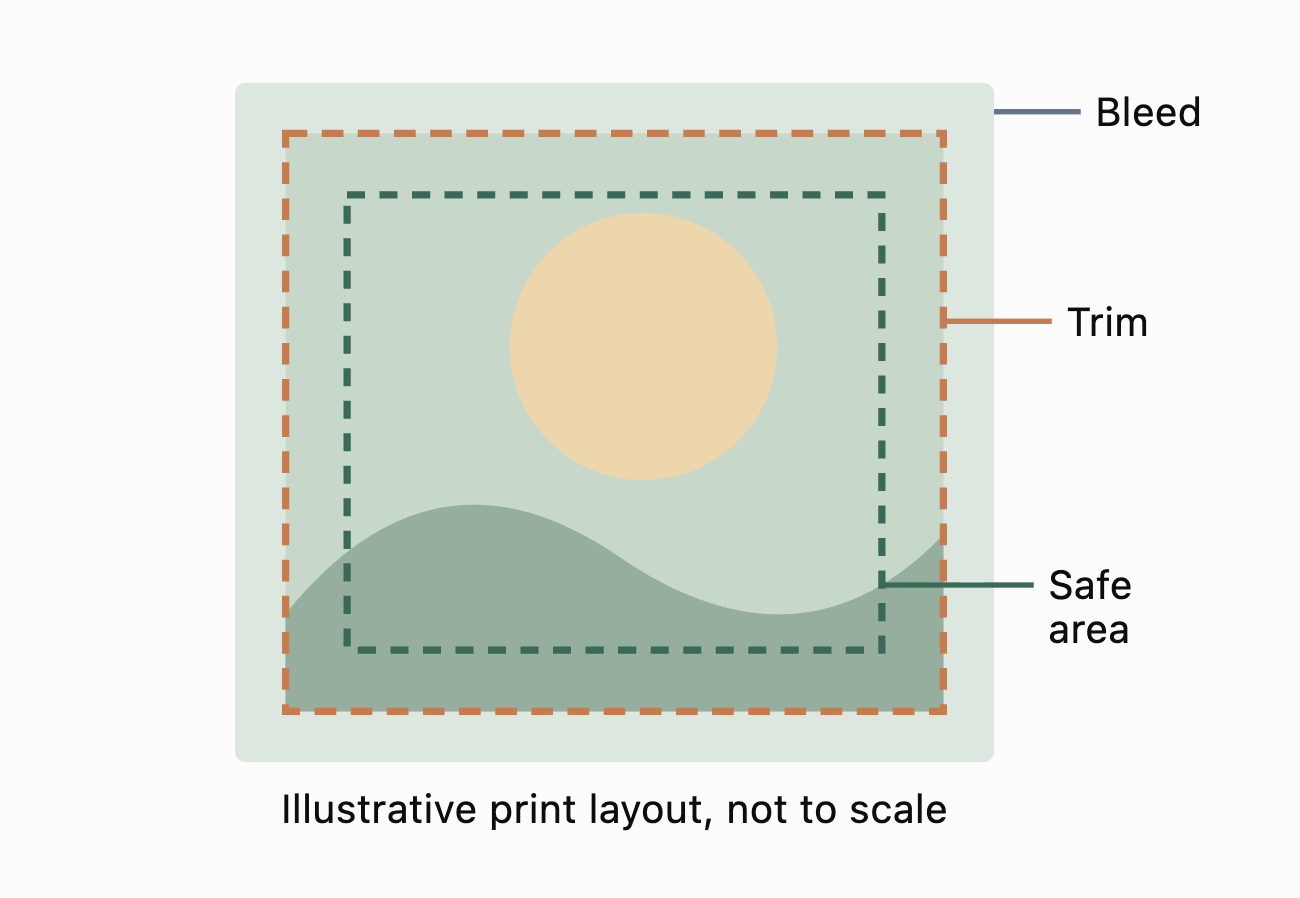
Bleed
Bleed is the extra image area extending beyond the final cut edge. It helps prevent unwanted white edges if the cutting position varies slightly.
Trim
The trim line marks where the finished print is intended to be cut.
Safe area
The safe area is the space inside the trim line where important details, such as faces or text, should be positioned.
How do you prevent faces or text being cut off?
Keep faces, text and other important details comfortably inside the edges of your design.
Avoid placing anything essential right against the trim line, and always follow any safe-area guides shown in the editor.
That way, nobody loses half their face in the finished photograph!
6. Make Simple Photo Edits Before Printing
You don’t need to become a professional photo editor to improve your print quality.
A few small adjustments can make your photos look even better.
Brightness and contrast
Photos sometimes appear brighter on a backlit phone screen than they do on paper.
If an image looks particularly dark, try gently increasing its brightness or lifting the shadows.
Colour and saturation
A small colour adjustment can help bring a photo to life.
Just be careful not to overdo it. Unless you’re going for a particular creative effect, you probably don’t want everyone’s skin looking bright orange!
Straightening
Wonky horizons are easy to overlook.
A quick straighten can make holiday photographs, landscapes and group shots look much more polished.
Filters
Filters can be a fun way to give your prints a particular feel.
Photobubble’s photo designer includes options such as sepia and greyscale, perfect for creating a nostalgic look.
LINK: https://photobubble.co.uk/prints/
7. What Should You Check in Your Design Preview Before Ordering?
Your design preview is your final opportunity to spot anything that doesn’t look quite right.
Before completing your order, take a moment to check:
- Cropping: Is everyone fully visible?
- Image quality: Does anything look blurry or pixelated?
- Positioning: Is the main subject where you want it?
- Orientation: Have you selected portrait or landscape correctly?
- Edges: Are important details safely away from the trim?
- Text: If your chosen design includes text, is it correct and easy to read?
- Overall appearance: Does everything look balanced?
It’s also worth checking the preview on a larger screen if you’re working with a particularly detailed design.
Remember, a screen preview helps you check the layout, but colours and brightness may look slightly different on the finished print.
8. Your Final Photo Printing Checklist
Before you turn those digital memories into real-life keepsakes, here’s a quick recap.
Ready to print?
- I’ve chosen the original, highest-quality photo
- I’ve checked the image resolution
- I’ve selected a suitable print size
- I’ve adjusted the brightness and colours if needed
- I’ve checked the crop and orientation
- I’ve kept faces and text away from the edges
- I’ve reviewed the final design preview
And that’s it! You’re ready to give your favourite photographs the attention they deserve.
Whether you’re printing holiday memories, family portraits or the 47th adorable photo of your pet this week, taking a little time to prepare your images helps make the finished result something you’ll love.
SHOP THE COLLECTION
Your Favourite Memories Deserve More Than a Camera Roll
Ready to turn your favourite snaps into something special? Explore Photobubble’s photo prints and give those brilliant little moments a life beyond your phone screen.
PRODUCTS:
6×4″ (152x102mm) Borderless Photo Prints
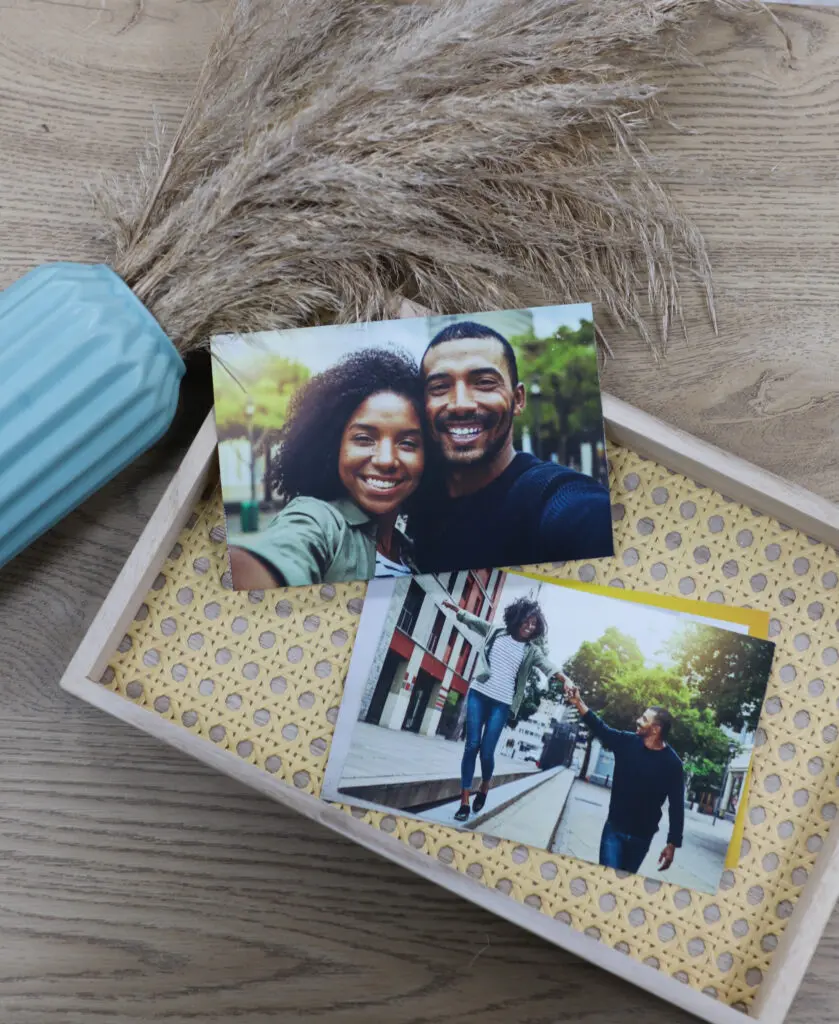
A classic choice for printing everyday memories, family favourites and holiday snaps.
Square Photo Prints with White Border
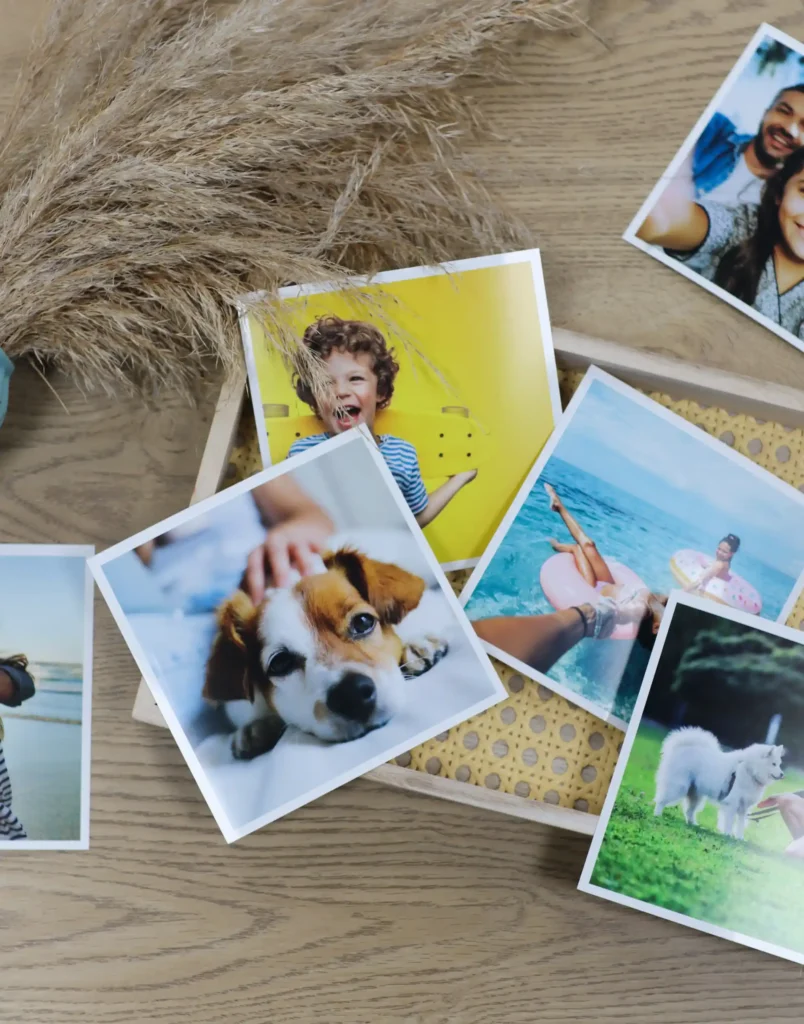
A lovely way to display square photographs with a clean white border.
Vintage Instant Photo Style Prints

Give your favourite moments a nostalgic, instant-photo-inspired look.
LINK: Shop The Collection